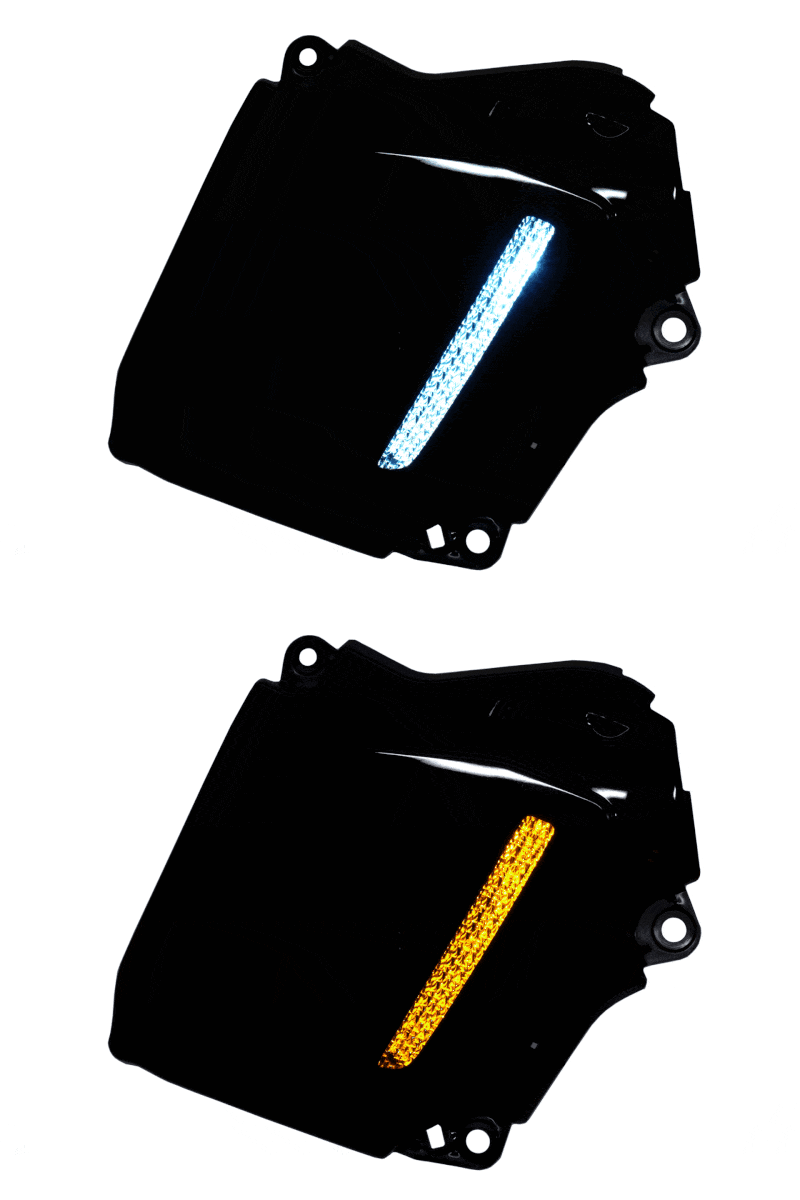
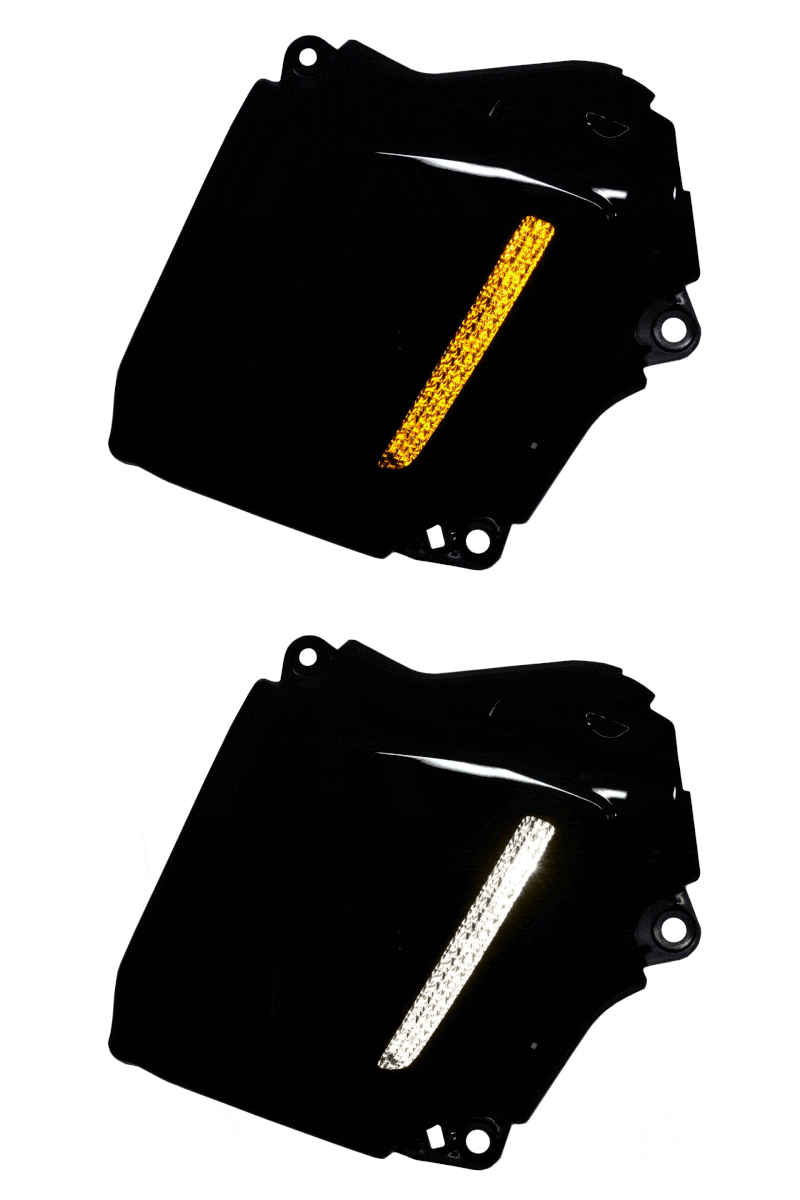
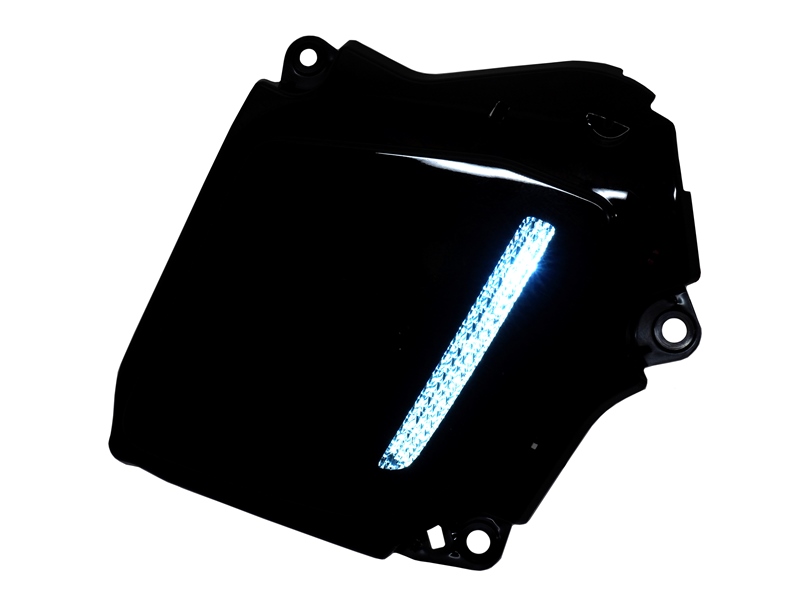
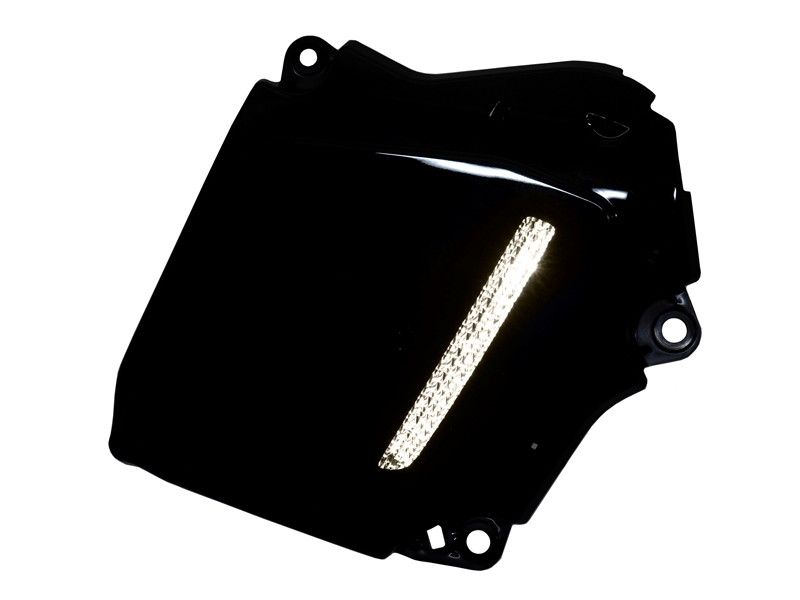
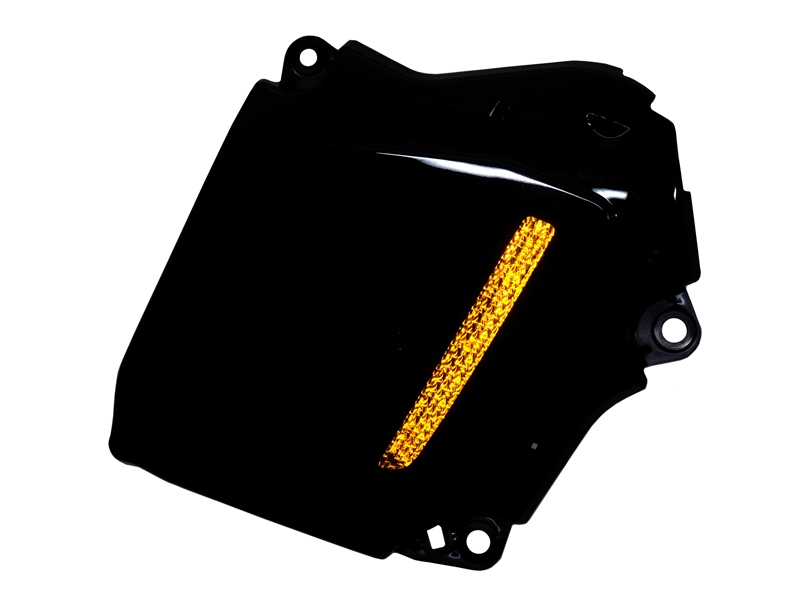
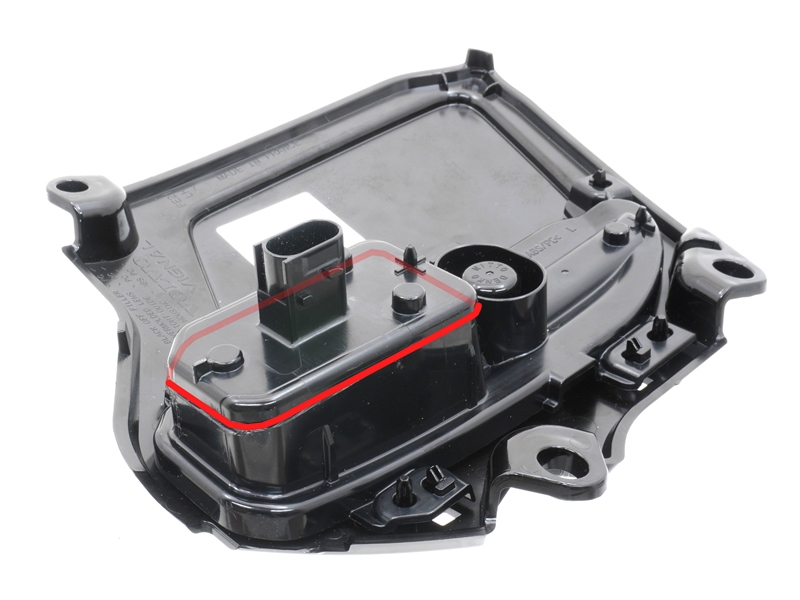
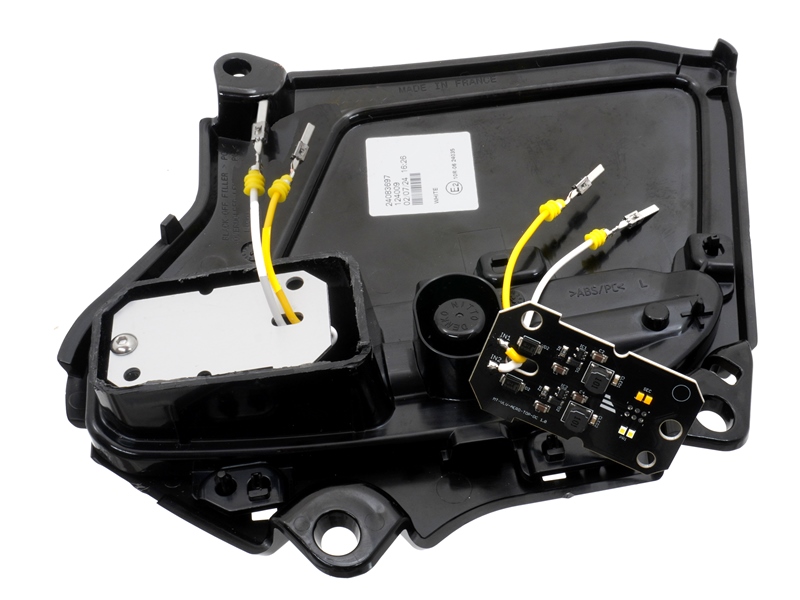
The light source is located in the square block at the back, where the plug is also positioned. The top of the square block needs to be cut off, which is easiest done with a standard metal saw. The cut should be approximately 3mm from the edge, all the way around.
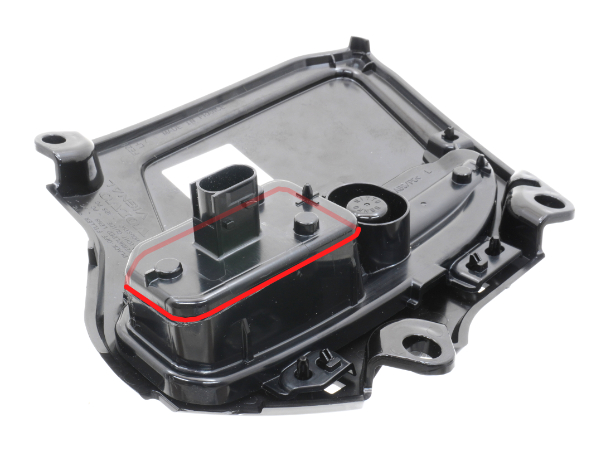
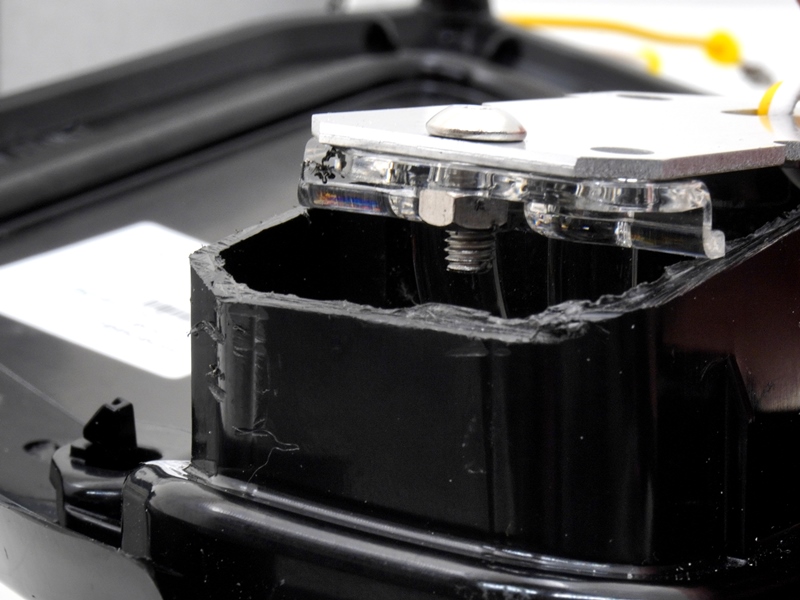
Once the top is cut all the way around, it can be pulled out slightly, and you will be able to see the original circuit board. This circuit board is fastened with 3 metal screws. Cut through the screws with the metal saw. The original circuit board will be damaged, but it is no longer needed.
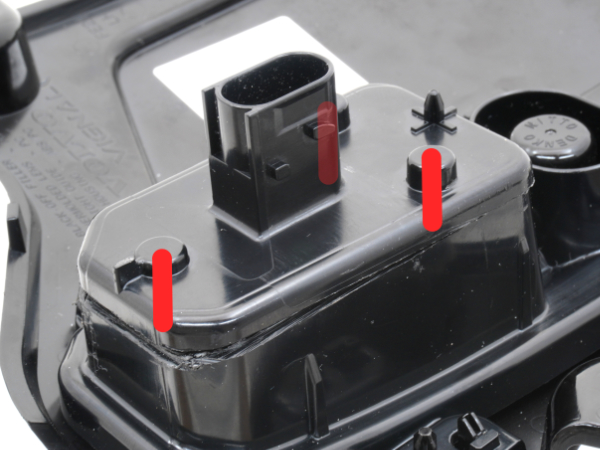
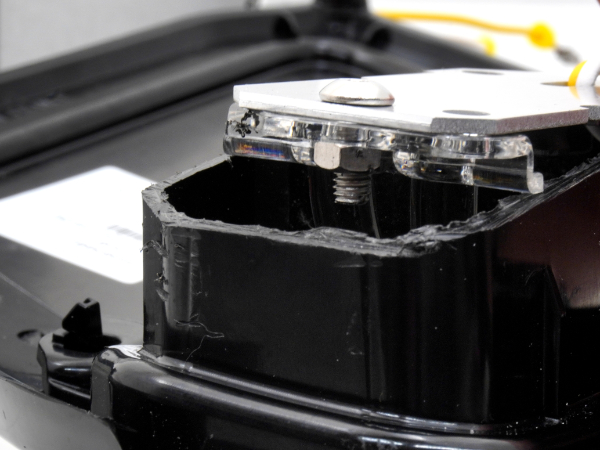
When the screws are cut through, the top can be completely removed, and the original circuit board can be detached.
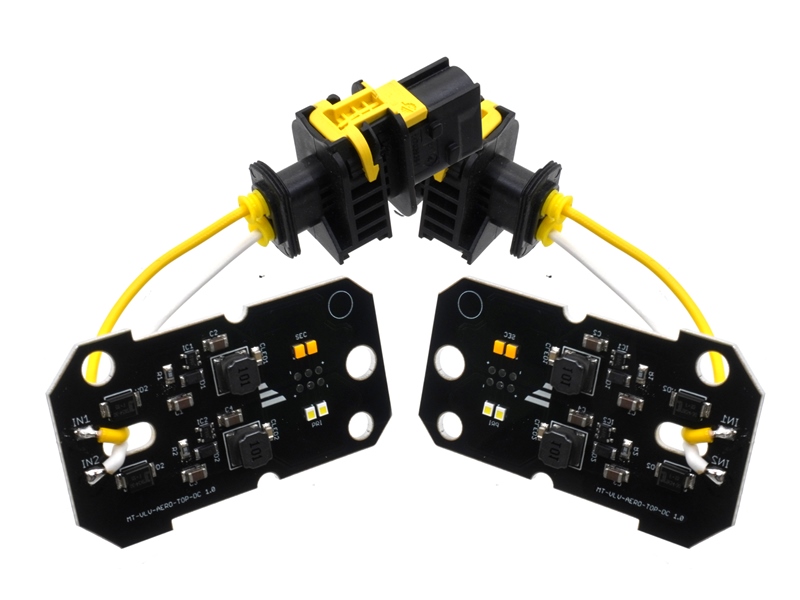
The new circuit board is secured to the optical fiber with the included bolt and nut. Use, for example, a wrench and tape to hold the nut in place, making it easy to screw together.
In the plug, the small holes for the plug pins need to be drilled open to 6mm. The wires from the new circuit board should be fed through this.
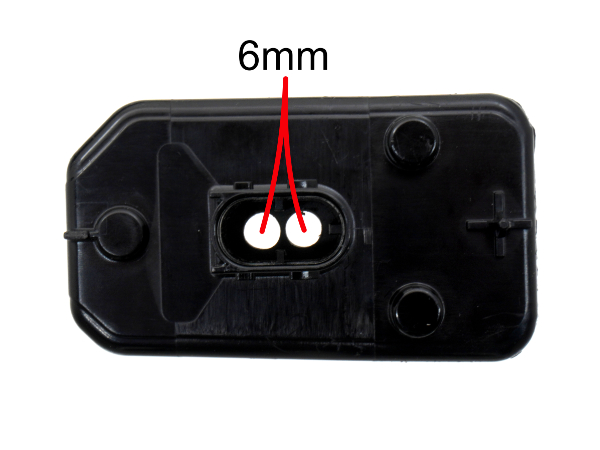
Insert the wires into the included plug. For single color, connect the red (positive) to pin 1, and the black (negative) to pin 2. For dual color, you can decide yourself, but be sure both lamps are connected in the same way.
Test the lamp before closing it.
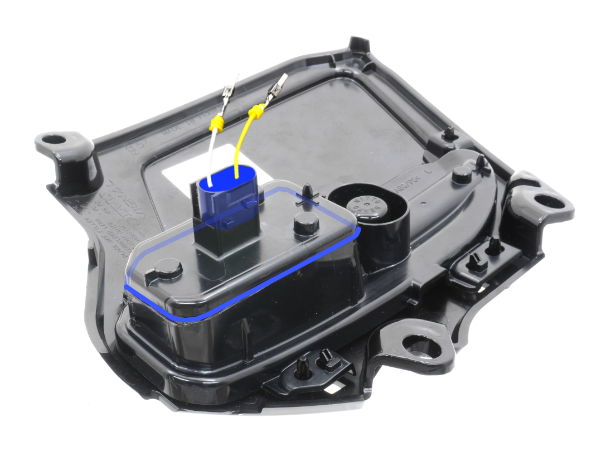
Finally, the block should be glued together again, and glue should be applied in the plug between the wires. We recommend flexible glue that also allows the lamp to be disassembled again.


